
I learned how to make these foam stamps recently in an online art class. They are so easy and fun! I wanted to share it with you… They can add to all sorts of projects – wrapping paper, gift tags, Christmas cards and collage papers!
I purchased the adhesive backed foam from Michael’s in a 9 x 12 inch sheet. I purchased it in black but they also come in white. Just make sure you buy the adhesive backed sheets.
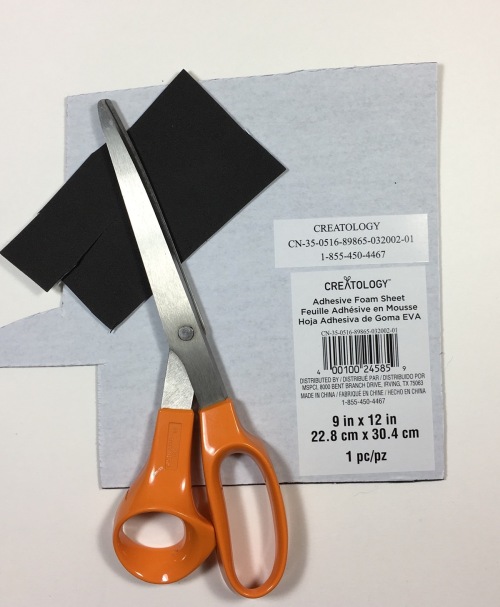
They are easy to cut with scissors. Even a child can do this! 🙂
I used an Exacto knife to cut squares of stiff cardboard for the base of my stamps:
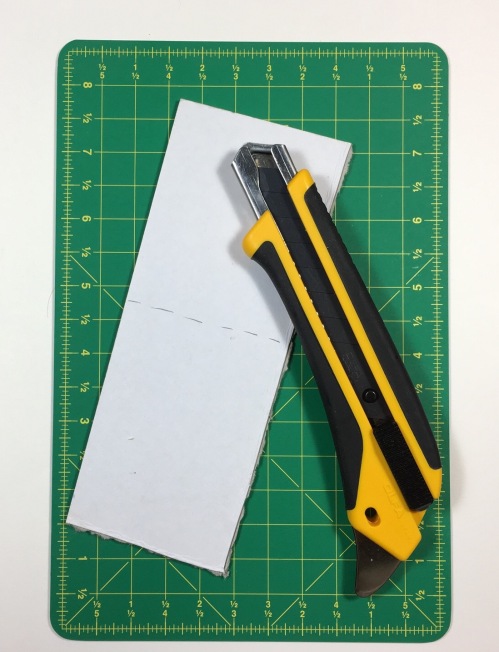
You will want to do this step and NOT your child. It helps to use a protective surface when using an Exacto knife.
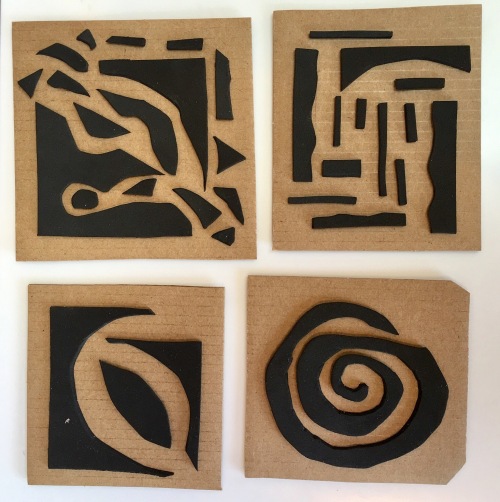
You simply cut the shapes, peel off the back and stick them to your cardboard backing! Easy as pie!!!
Here is the stamp I used in yesterday’s post in several variations of red and green over gelli-printed paper:
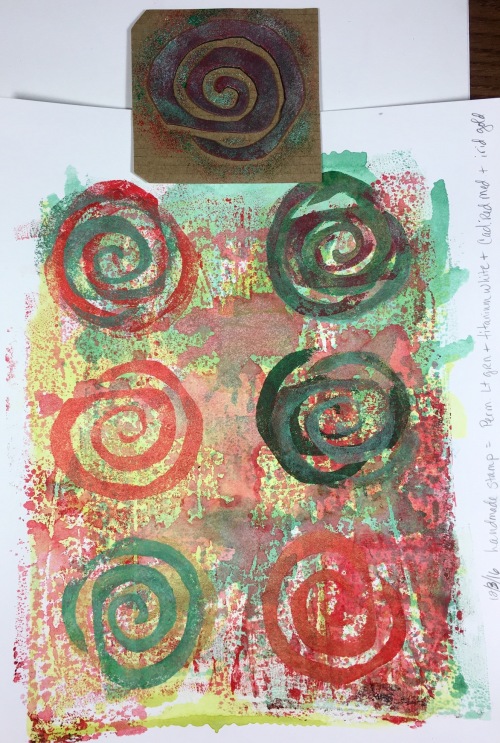
I’m really liking Golden’s Iridescent Gold for a little extra holiday bling! 🙂 It’s great to mix with Golden’s Fluid Acrylic paints but any acrylic paint would work!
I apply paint to my handmade stamps using a sponge and a paper plate for a palette.
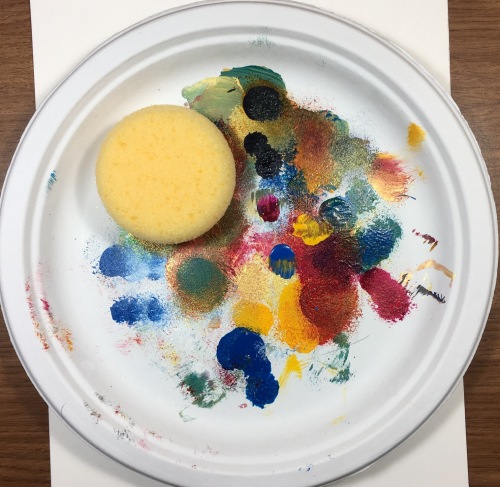
A brayer would also work but I don’t like wasting a lot of paint.
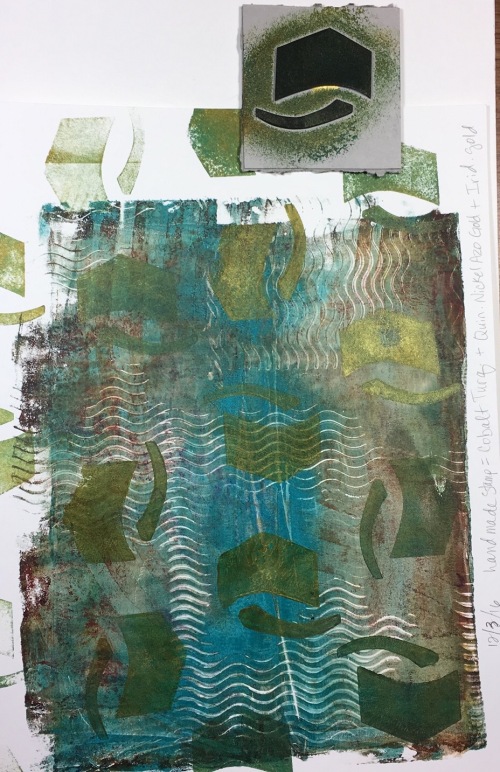
I’m finding the handmade stamps make a nice addition to my gelli-printed papers:
And here is a combo with two stamps:
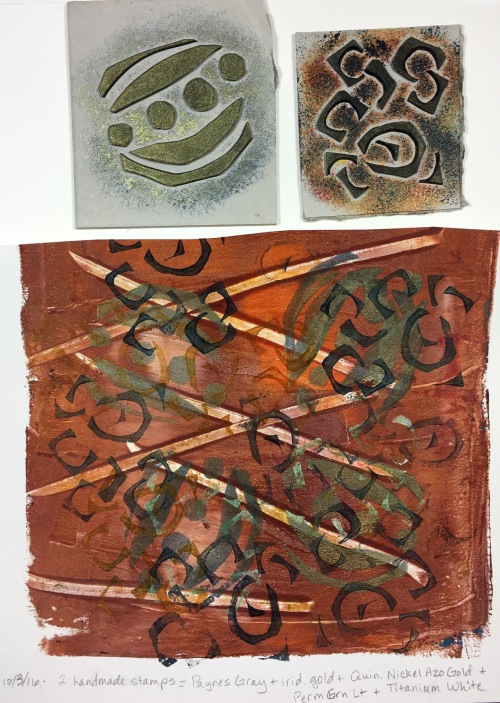
I try to take notes of the colors I used so I can repeat them. I hope to use these papers in future collages.
Hope you enjoyed my instructions!! I would love to see what you do!
Cheers!! 🙂
P.S. You can press into the foam with a ball point pen to create a pattern of dots too!

Jill –
Loved the pics and tips – we have been making our stamps with foam and then use double sided tape to fix them on a wooden block. Students love them – but yours here is much easier and allows for more designer ones! Like the pen tip too
Thx
LikeLiked by 2 people
I like your ideas too! Thank you for sharing them with me!! 😄🎨👍
LikeLiked by 1 person
🙂
LikeLiked by 1 person
So much dimension from such a simple tool–wonderful! (K)
LikeLiked by 1 person
Thanks Kerfe! 😄 Yes, I am amazed with the possibilities of these foam stamps… I can’t wait to try them on my gelli plate! 🎨💕
LikeLike
Cool! You can make stamps from a potato too, you know. We did that in the Girl Scouts. What fun!
LikeLiked by 1 person
Oh, yes! Potatoes are fun too! Thanks Cynthia! 😍💕
LikeLiked by 1 person
This looks like a real fun project and I love your results!
LikeLiked by 1 person
Thank you Birgit! 😃 I’m having so much fun with them! 🌟🎄🎨
LikeLike
Wow! Again you nailed it friend. Thanks for sharing the DIY stamps process. Really fun 💕
LikeLiked by 1 person
Thanks Snehal! 🎨👍✨ I hope you give them a try! 😍
LikeLiked by 1 person
Sure i’ll definitely try 🙂
LikeLiked by 1 person
So fun, and I love the sophisticated pieces you created with these simple stamps! You Rock Jill!
LikeLiked by 1 person
Thank you, Jodi! ❤️ You could even use them on furniture! hint hint! 👶
LikeLiked by 1 person
Wonderful! Thanks, Jill
LikeLiked by 1 person
You are welcome, Catherine!! 😄 I look forward to seeing what ewe create!! 🐏💕💖
LikeLiked by 1 person
great posts, great pics in sequence!! I must hunt down adhesive foam. wonderful. I really love your stamp designs you created Jill, they are brilliant!! 🙂
LikeLiked by 1 person
Thank you Debi! 😍 I’m surprised how fun these stamps are to create and use! 🎨👍 I imagine they would look awesome in one of your acrylic paintings for texture. 💙
LikeLiked by 1 person
they are so lovely, Jill, they look perfect on their own! 🙂
LikeLiked by 1 person
Great tutorial. I need to try this. Thanks for sharing, Jill 🙂
LikeLiked by 1 person
Glad you like it, Carol! 😄💕
LikeLiked by 1 person
Pingback: Stop A Moment | Jill's Art Journal